Microsoft 365 Whiteboard app settings

The Microsoft 365 Whiteboard (aka Office 365 Whiteboard) is an amazing tool to collaborate with your coworkers. Especially in today’s landscape where almost everyone is working from remote locations. We can’t gather around a whiteboard and brainstorm like we could before so hopefully this series, aimed at helping you understand and use the Microsoft Whiteboard App, is serving you well.
If you’ve been reading along with us, in the first post we covered the introduction to Whiteboard and how to install the App. The second post explored drawing, adding text, images and notes, and the third post explained how to add grids, lists and templates.
As we continue our focus on whiteboards, this fourth and final article explains Whiteboard App settings. You can also refer to this earlier article, to see how to use the whiteboard in Microsoft Teams.
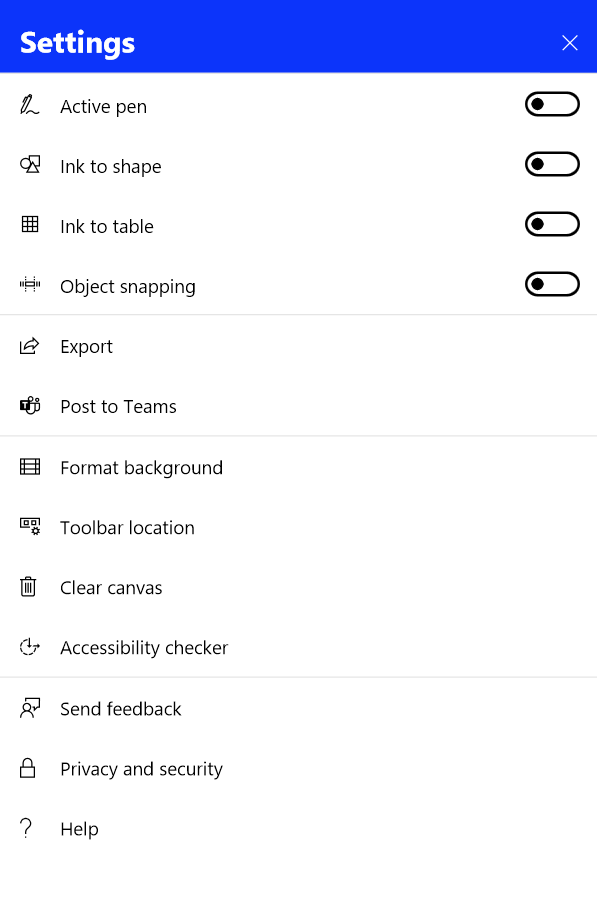
Settings menu
The settings menu lets you enable specific features and define how the Microsoft Whiteboard will work. Here you can pick and choose what works best for you and your whiteboard.
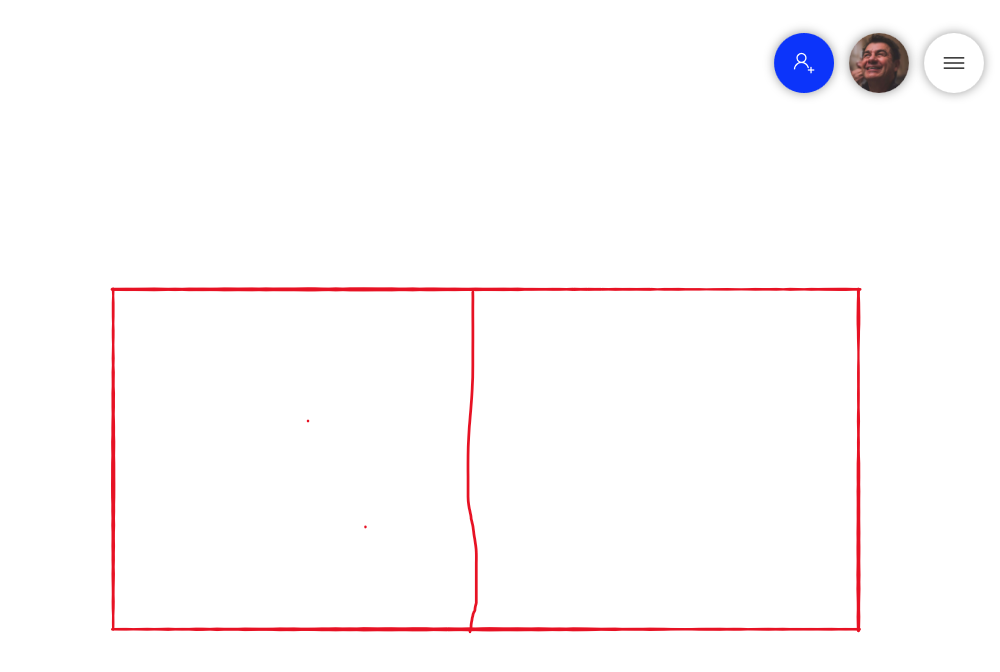
Ink to Shape
The Ink to Shape feature is a really cool one. When you draw out a shape, it will help straighten the lines of the shape that you’ve drawn and make it perfect.
Before

After

Ink to table
Just like the Ink to Shape option, the Ink to Table works in the same way and helps you quickly draw a table, and it will automatically recognize that your shape is a table. You can also add and remove columns and rows with the +/- signs.
Before
After

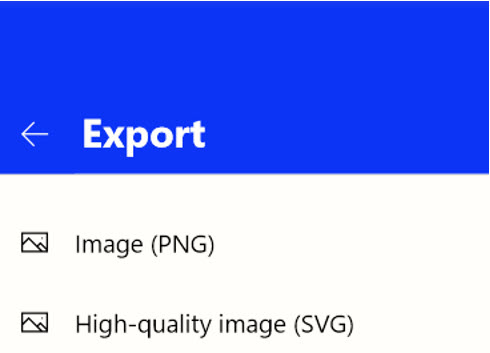
Export
The Export feature lets you to capture and print an image (PNG or SVG) of your whiteboard.
Post to Teams
Post to Teams allows you to share a Whiteboard that you created on your desktop app to a Microsoft Teams Channel publication. It will post a link to the whiteboard.

Note: The message does not say much, it only adds the title of the particular whiteboard board with the (link). I would definitely recommend that you edit your message accordingly after it’s been posted so you can make it clear to others what you have just shared.
Format background
The Format Background feature lets you select a background colour and a grid from different designs.
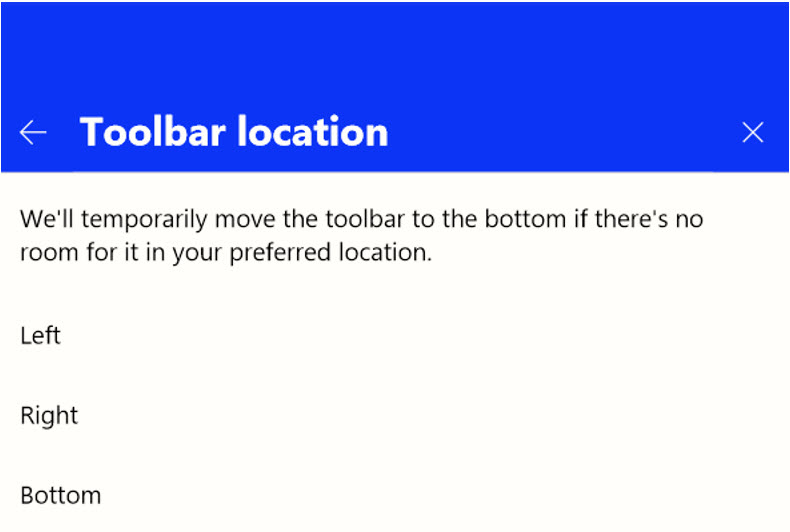
Toolbar location
The Toolbar Location option actually gives you the option to select exactly where you want the tool bar to be shown from: choose the left-hand side, right or even the bottom, to customize your toolbar to where you feel more comfortable working with it.
Clear Canvas
Exactly as described, Clear Canvas will erase everything from your canvas.
Help
When you select Help, a browser will open to the Microsoft Whiteboard App help web site where you will find more tips and tricks to better use Microsoft Whiteboard. We’ve outlined some great ones here, but there is always more to learn.
Conclusion
As you just saw, the Microsoft 365 Whiteboard App provides you with so many more features compared to simply using the Microsoft 365 whiteboard in Teams. Since it’s only available on Windows 10, it would be another great reason to move to Windows 10!
So get creating! Happy whiteboarding!
This series of articles was developed to help you understand and use the Microsoft 365 Whiteboard app running on your Windows 10 device. Read all the articles in the series.
Submit a comment