Publishing a meeting room in Microsoft Teams

Microsoft Teams is great for holding online meetings. And so we can also use Teams to book a meeting room. However, by default, Microsoft Teams does not display the list of meeting rooms. Here’s how to set that up.
In this article we continue our series designed to help you understand the options that are available in Teams Meetings, and to share in one central resource all the information you need to use Meetings in Microsoft Teams.
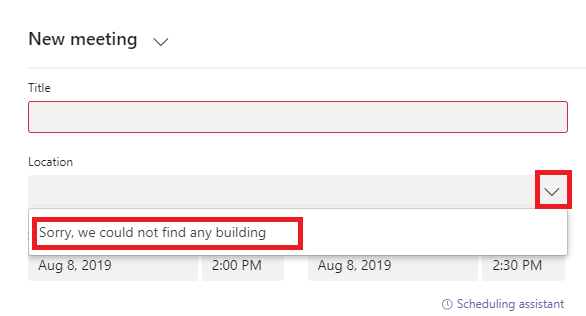
When you create a new Meeting in Teams and you click on Location, you get a message saying “Sorry, we could not find any building” if your administrator has not configured Teams Meeting Room.
Setting up a meeting room
Let’s go through the steps to publish physical meeting rooms in Microsoft Teams:
- Create a new resource for each physical meeting room
- Use PowerShell to publish the physical meeting rooms
1- Create a new resource for a meeting room from the Office 365 administration center
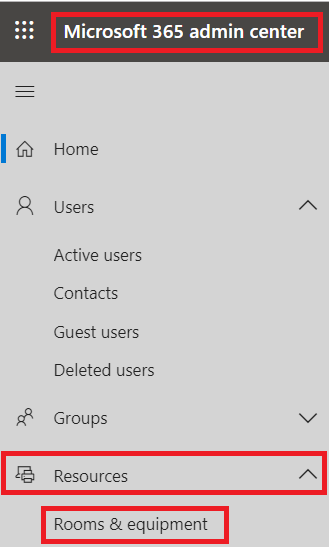
- Open the Office 365 admin Center
- Click on Resources
- Click on Room & equipment
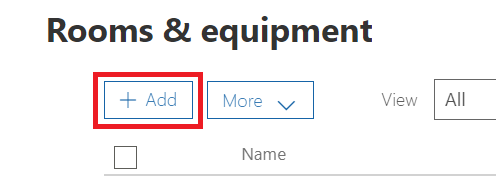
On the Rooms & equipment pane
- Click on Add
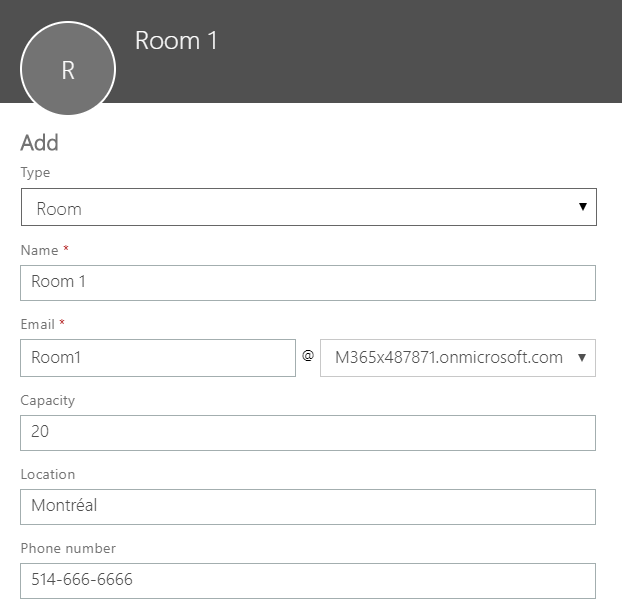
Enter all the information for your meeting room
- Click on Add (at the bottom of the form)
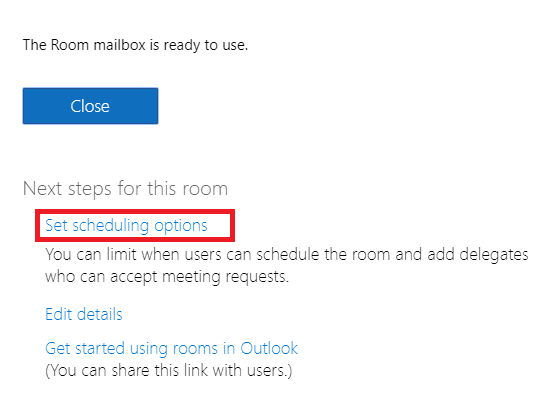
Once the room is created, you can configure Scheduling options
Repeat these steps for each of your meeting rooms
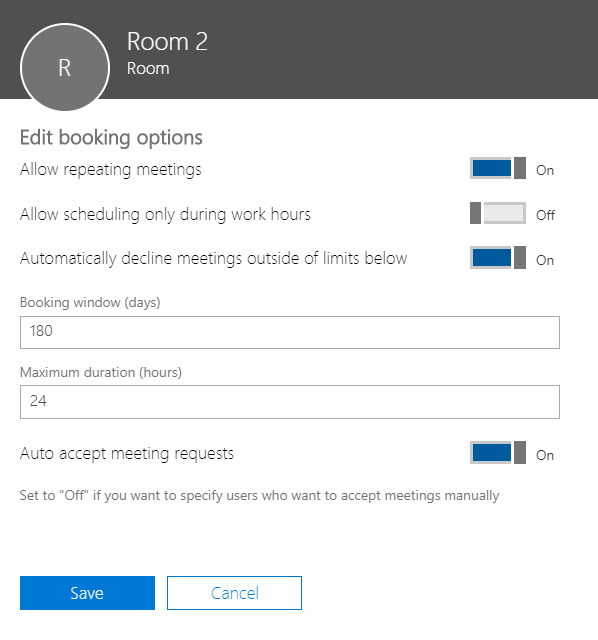
Select the scheduling options that are required for your organization
2-Use PowerShell to publish the physical meeting rooms
To add your meeting rooms to Microsoft Teams we need to use PowerShell:
- Connect to Exchange Online
- Open PowerShell as an Administrator
- Execute the following PowerShell command to connect to Exchange Online
Set-ExecutionPolicy Unrestricted
$UserCredential = Get-Credential
$Session = New-PSSession -ConfigurationName Microsoft.Exchange –
ConnectionUri https://outlook.office365.com/powershell-liveid/ -Credential $UserCredential –
Authentication Basic -AllowRedirection
Import-PSSession $Session
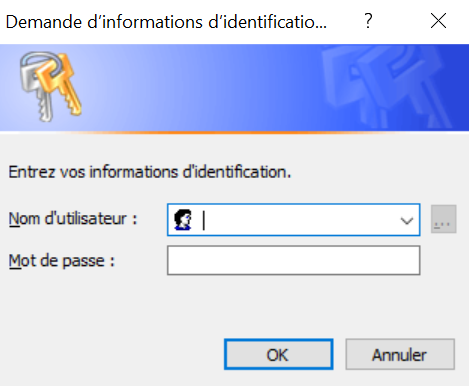
You will be required to enter the credentials of an Office 365 administrator
After you are connected to Exchange PowerShell you need to create a new distribution group using the following command:
New-DistributionGroup -Name “Meeting Rooms Montreal Office” -Roomlist
Where ‘Name’ is the name you want to use for the list of rooms.
Important: You have to use the -Roomlist switch
Once the distribution group is created you will need to add the meeting room resources that you created.
Use the following PowerShell Command to add your meeting rooms to the distribution group:
Add-DistributionGroupMember -Identity “Meeting Rooms Montreal Office” -Member “Room 1“
Where ‘Identity’ is the name of the distribution group you just created, and ‘Member’ is the name of the meeting room resource that you want to add.
Repeat these steps for each meeting room that you want to add.
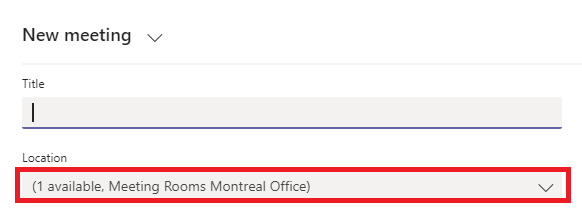
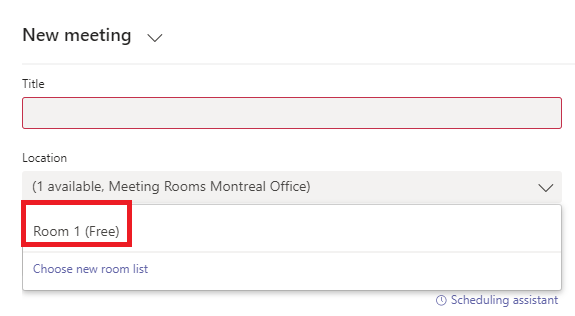
After a few minutes you’ll have the option to create a new Teams meeting and to add a room within any meeting – from the Montreal Office in my example. If the room is not shown, it’s because it’s not available.
You will receive and email to confirm that that meeting room is booked:
If you click on the link you will be able to select the room:
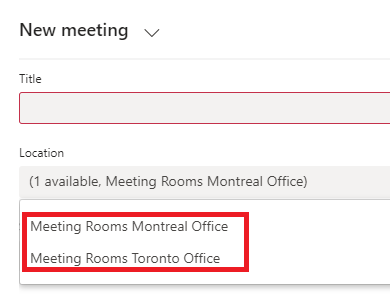
Note that you can even create multiple distribution groups (Room lists). So, for example, per floor, per office, etc…
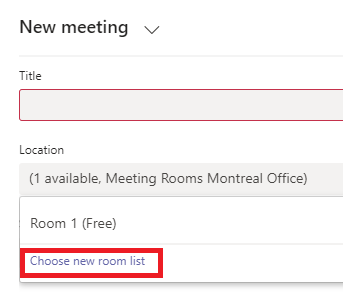
In the case of multiple room lists, you need to click Choose new room list to view all room lists.
Submit a comment